Unboxing
What's included in the box:
- Neon Hex Modules (Number varies based on different packs you choose)
- Moonside smart controller
- 2 x USB Type-C cables
- USB Type-C to Hex Module connector
- 15W power adaptor (Your country plug type)
- Double side tape & adhesive putty for wall mounting
- Corner joint connector (only included in the pack of 9, 12, 24, or more)
- Additional Power Supply Connector
- User manual and warranty card
Please note that there is a use difference between the "USB Type-C to Hex Module Connector" and the "Additional Power Supply Connector", although they look very similar. They cannot be used interchangeably.
The additional power supply connector is only included in the 12 and 24 Neon Hex packs. It is used to ensure there is enough electric power to supply more hex light modules.
 USB Type-C to Hex Module Connector
 Additional Power Supply Connector
Connect Hex Modules
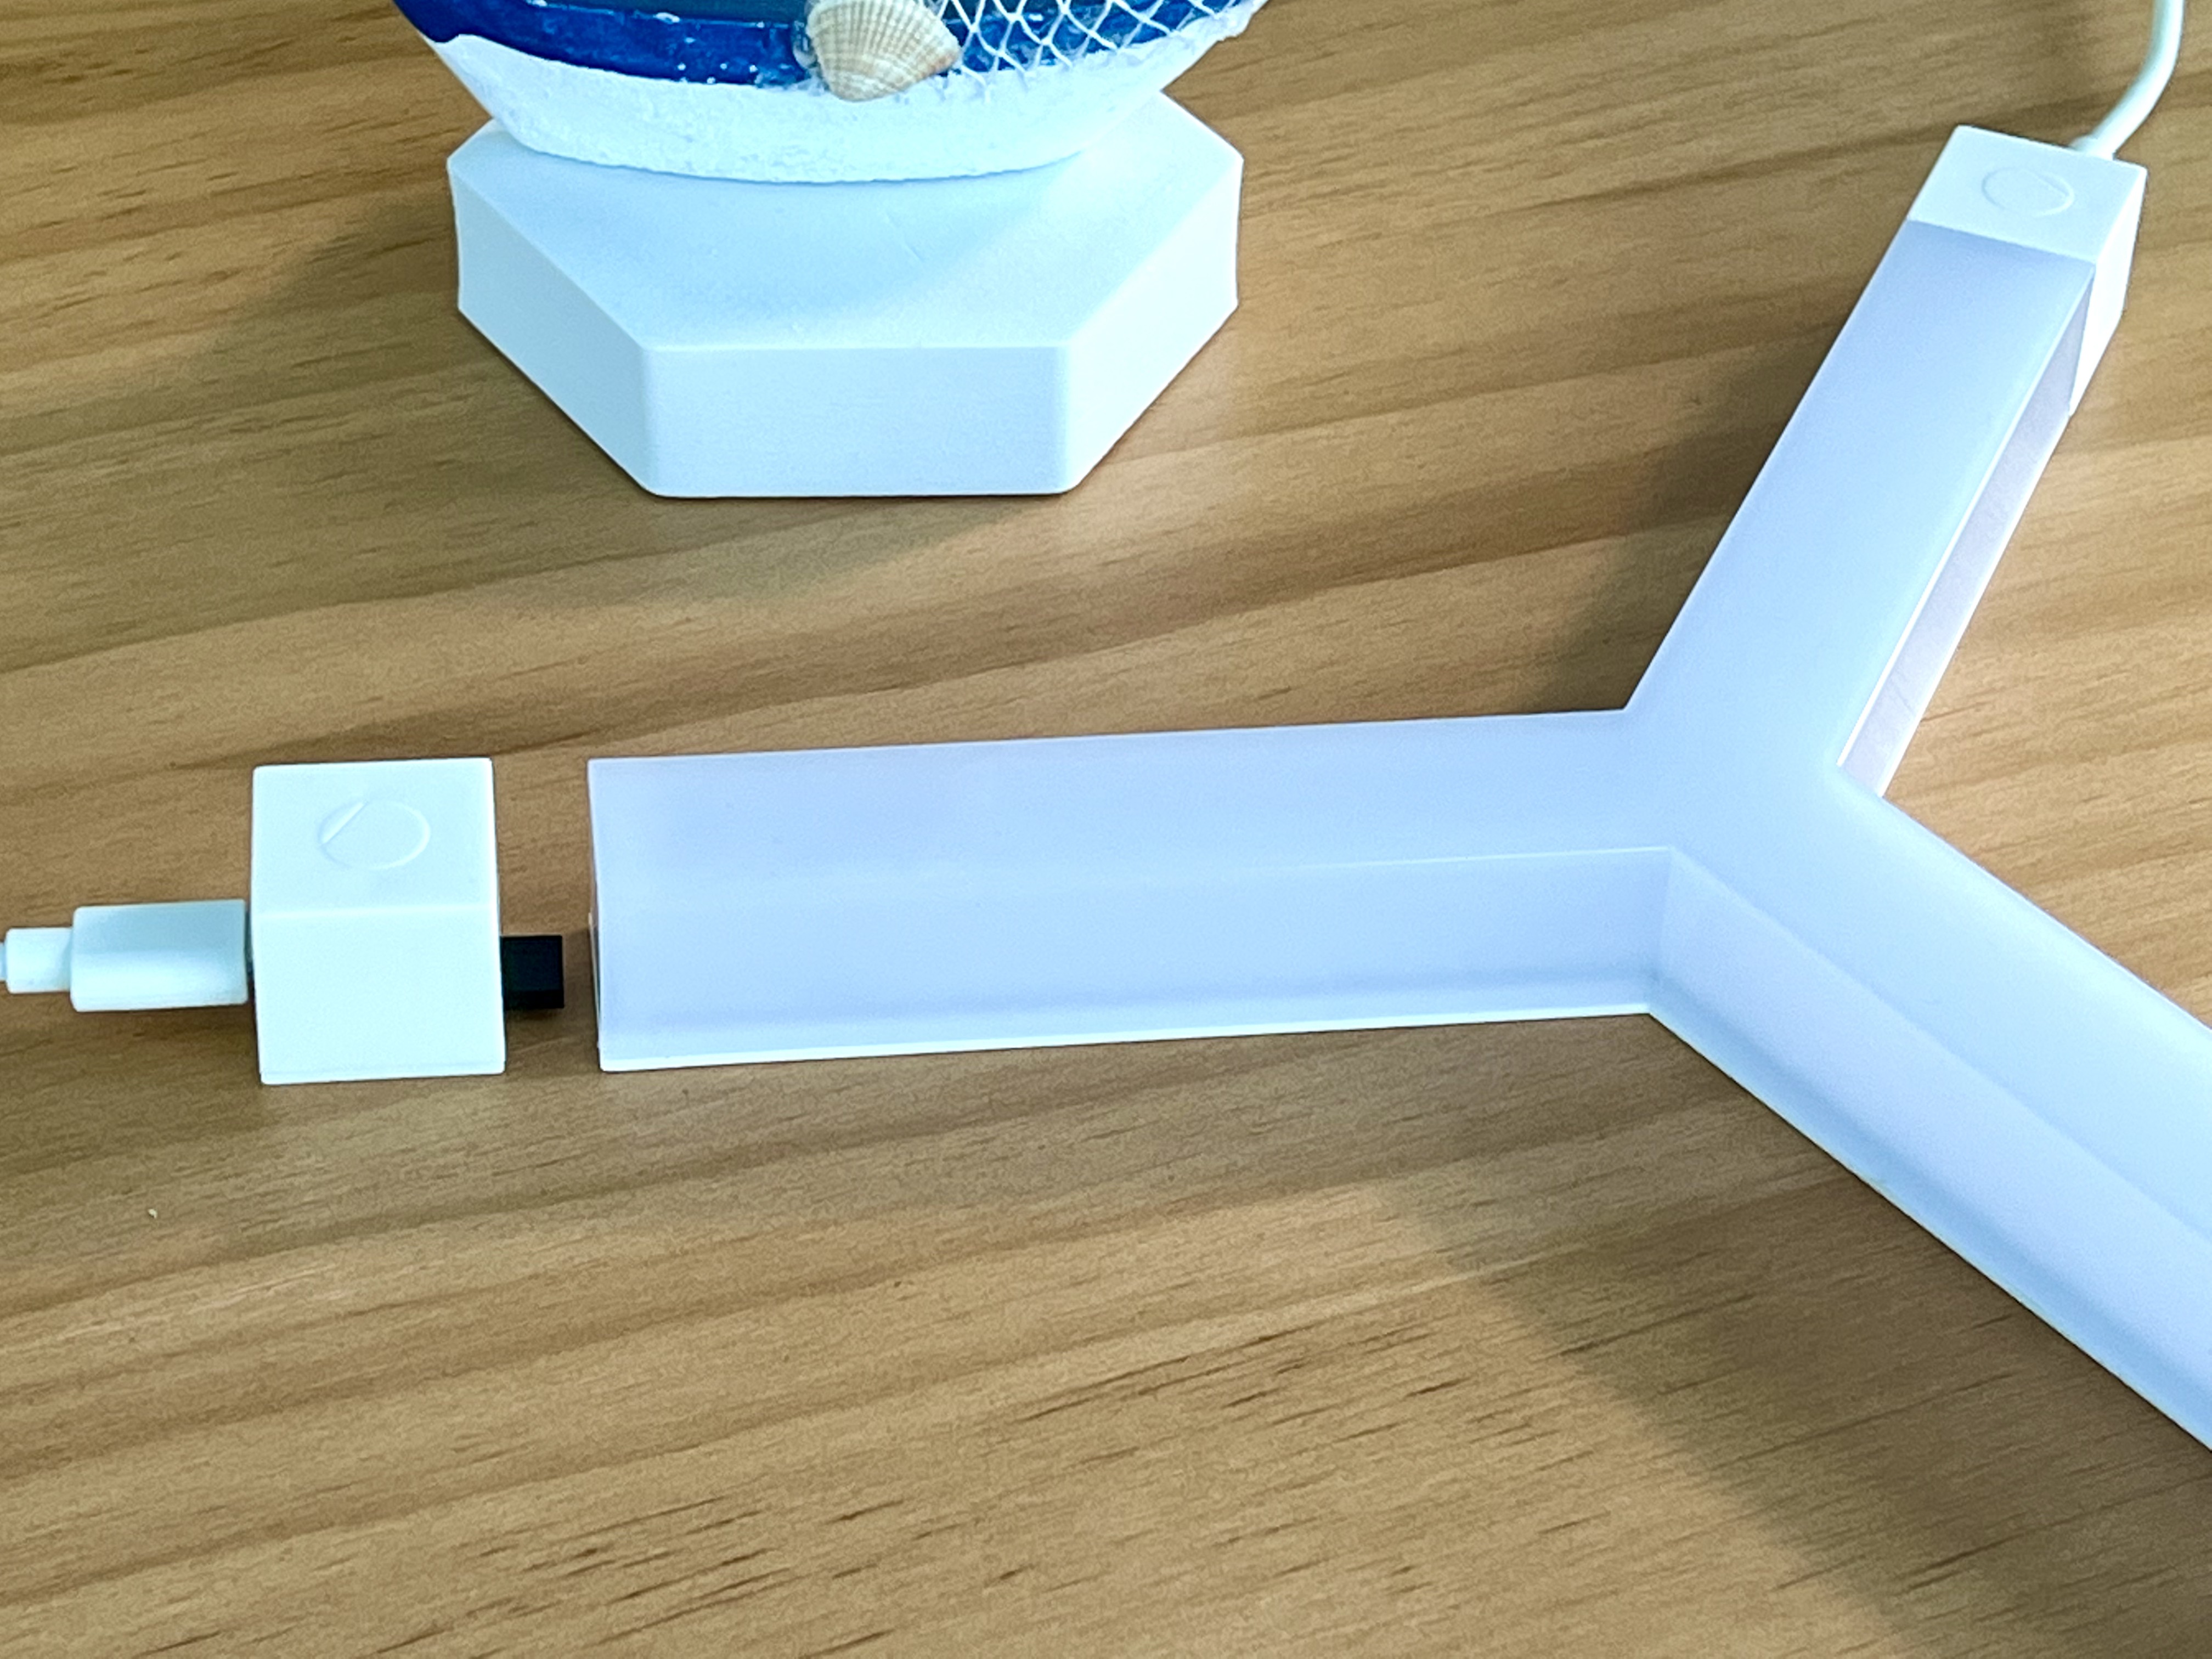
Firstly, you need to connect the Moonside smart controller to the USB wall power adaptor with the longer USB power cable. Then you need to connect the other end of the controller to the "USB Type-C to Hex Module Connector" with the shorter cable.
 Smart Controller Cable Connection
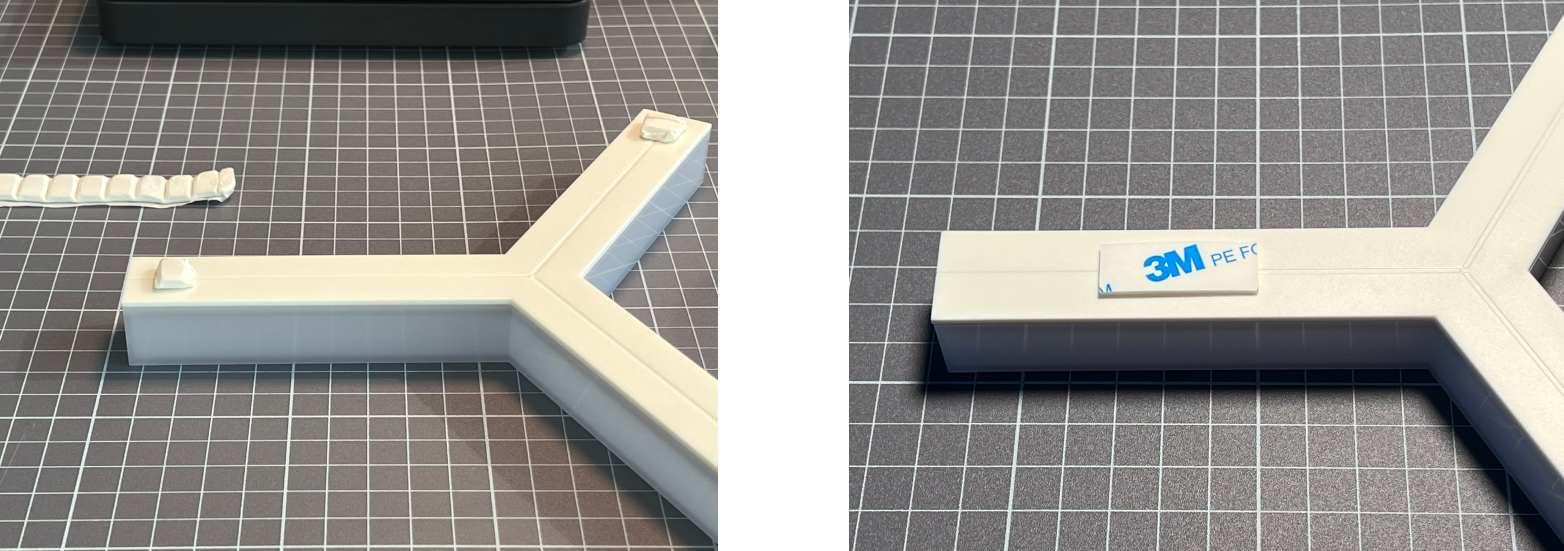
There are three connection sides on each Neon Hex module. One side has a black plastic connector sticks out. The other two sides have three metal pins inside the Hex module.
The side with the black plastic connector needs to be plugged into the other sides with the metal pins.
 Connecting Hex Modules
Wall Mounting
There are double-sided tapes and adhesive putties included in the box.
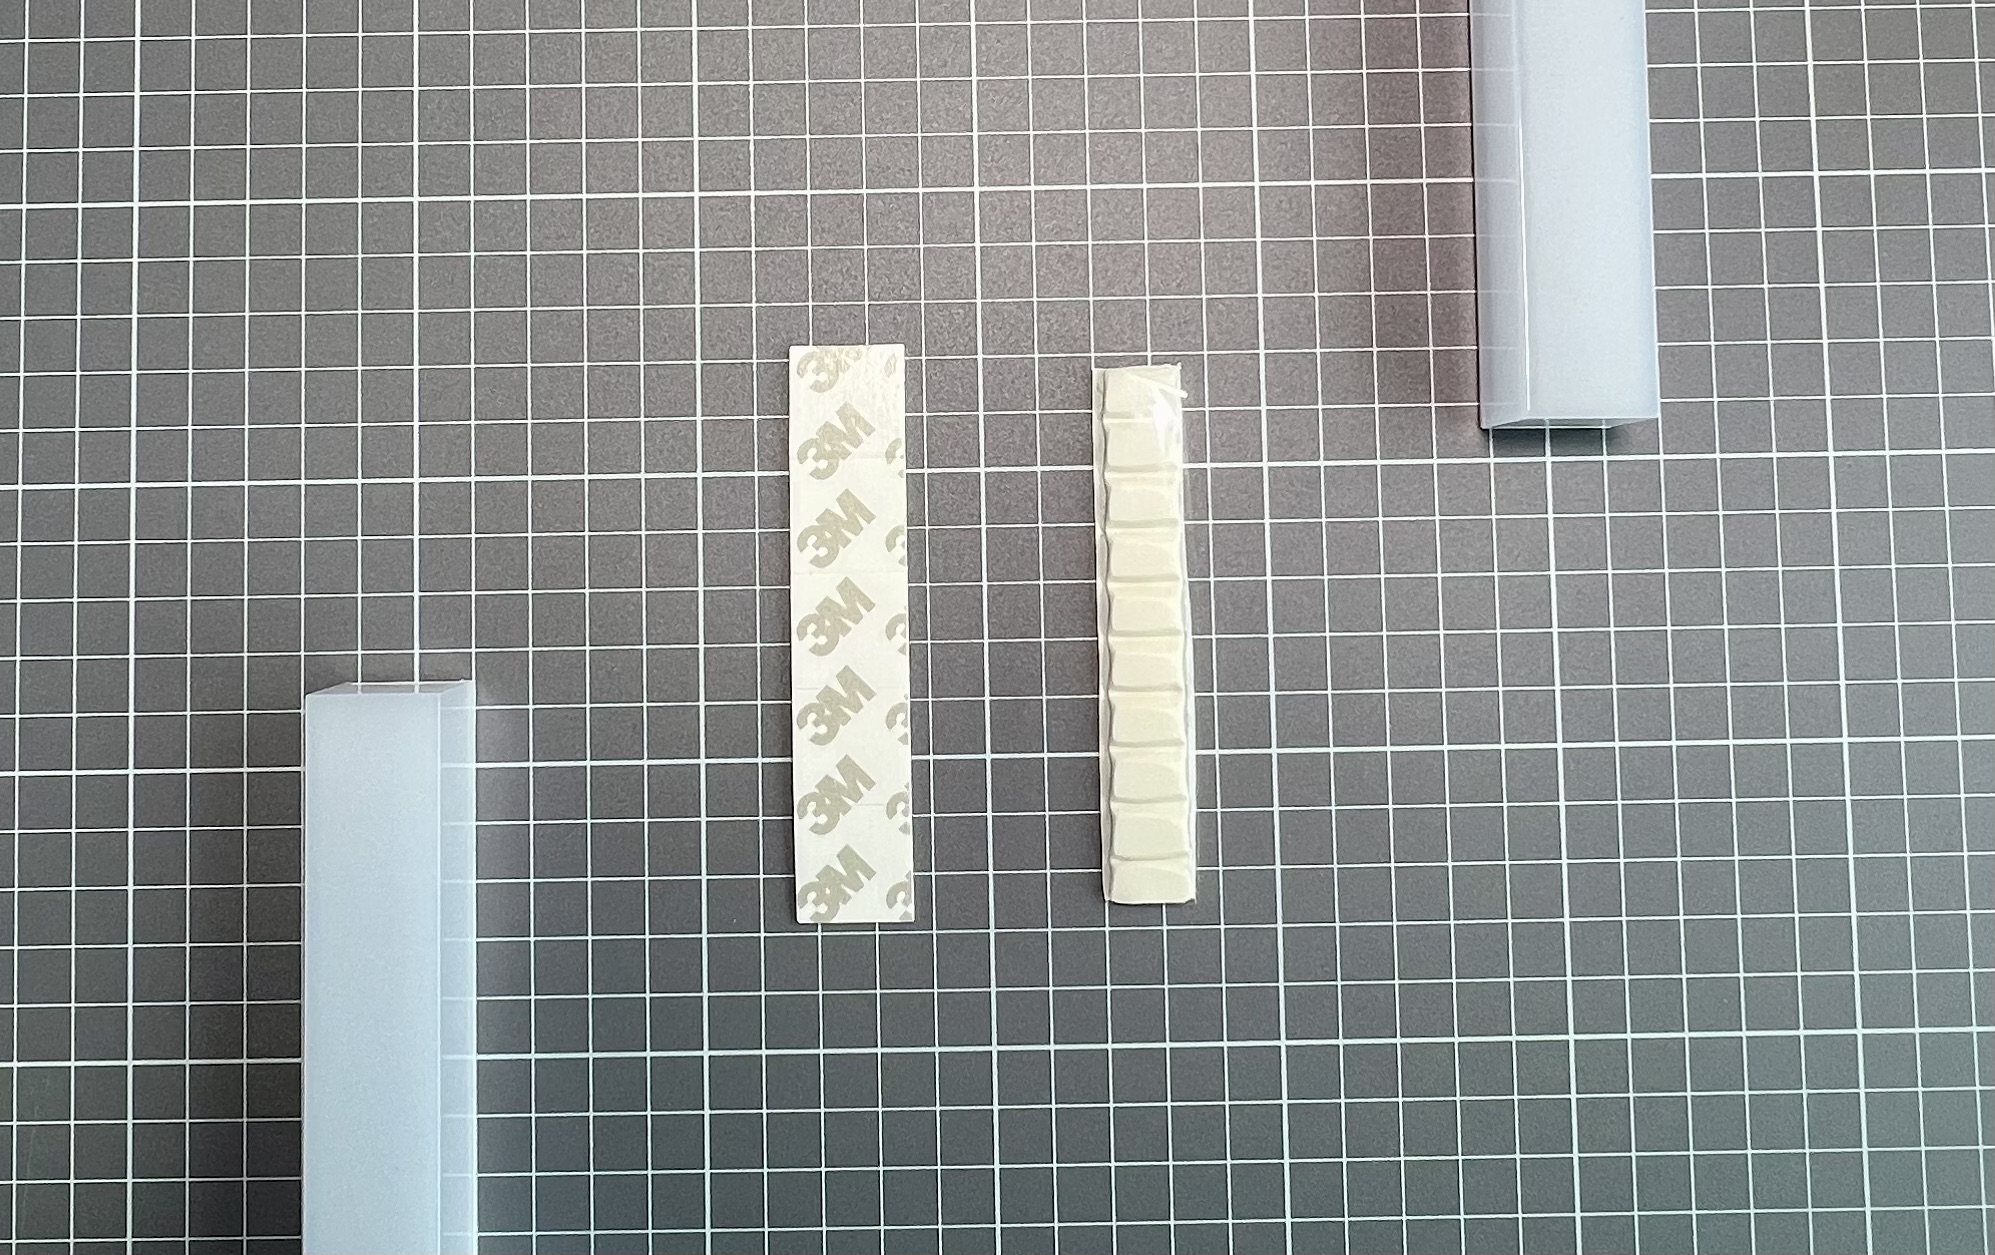
You can use both double-sided tapes and adhesive putties to mount your Neon Hex modules onto your wall. If you don't want to leave any trace on your wall paint, you can simply use the removable adhesive putties.
Using the adhesive putty for a few modules of your layout will give you more flexibility to change your layout design in seconds without any hassle.
Design Layout
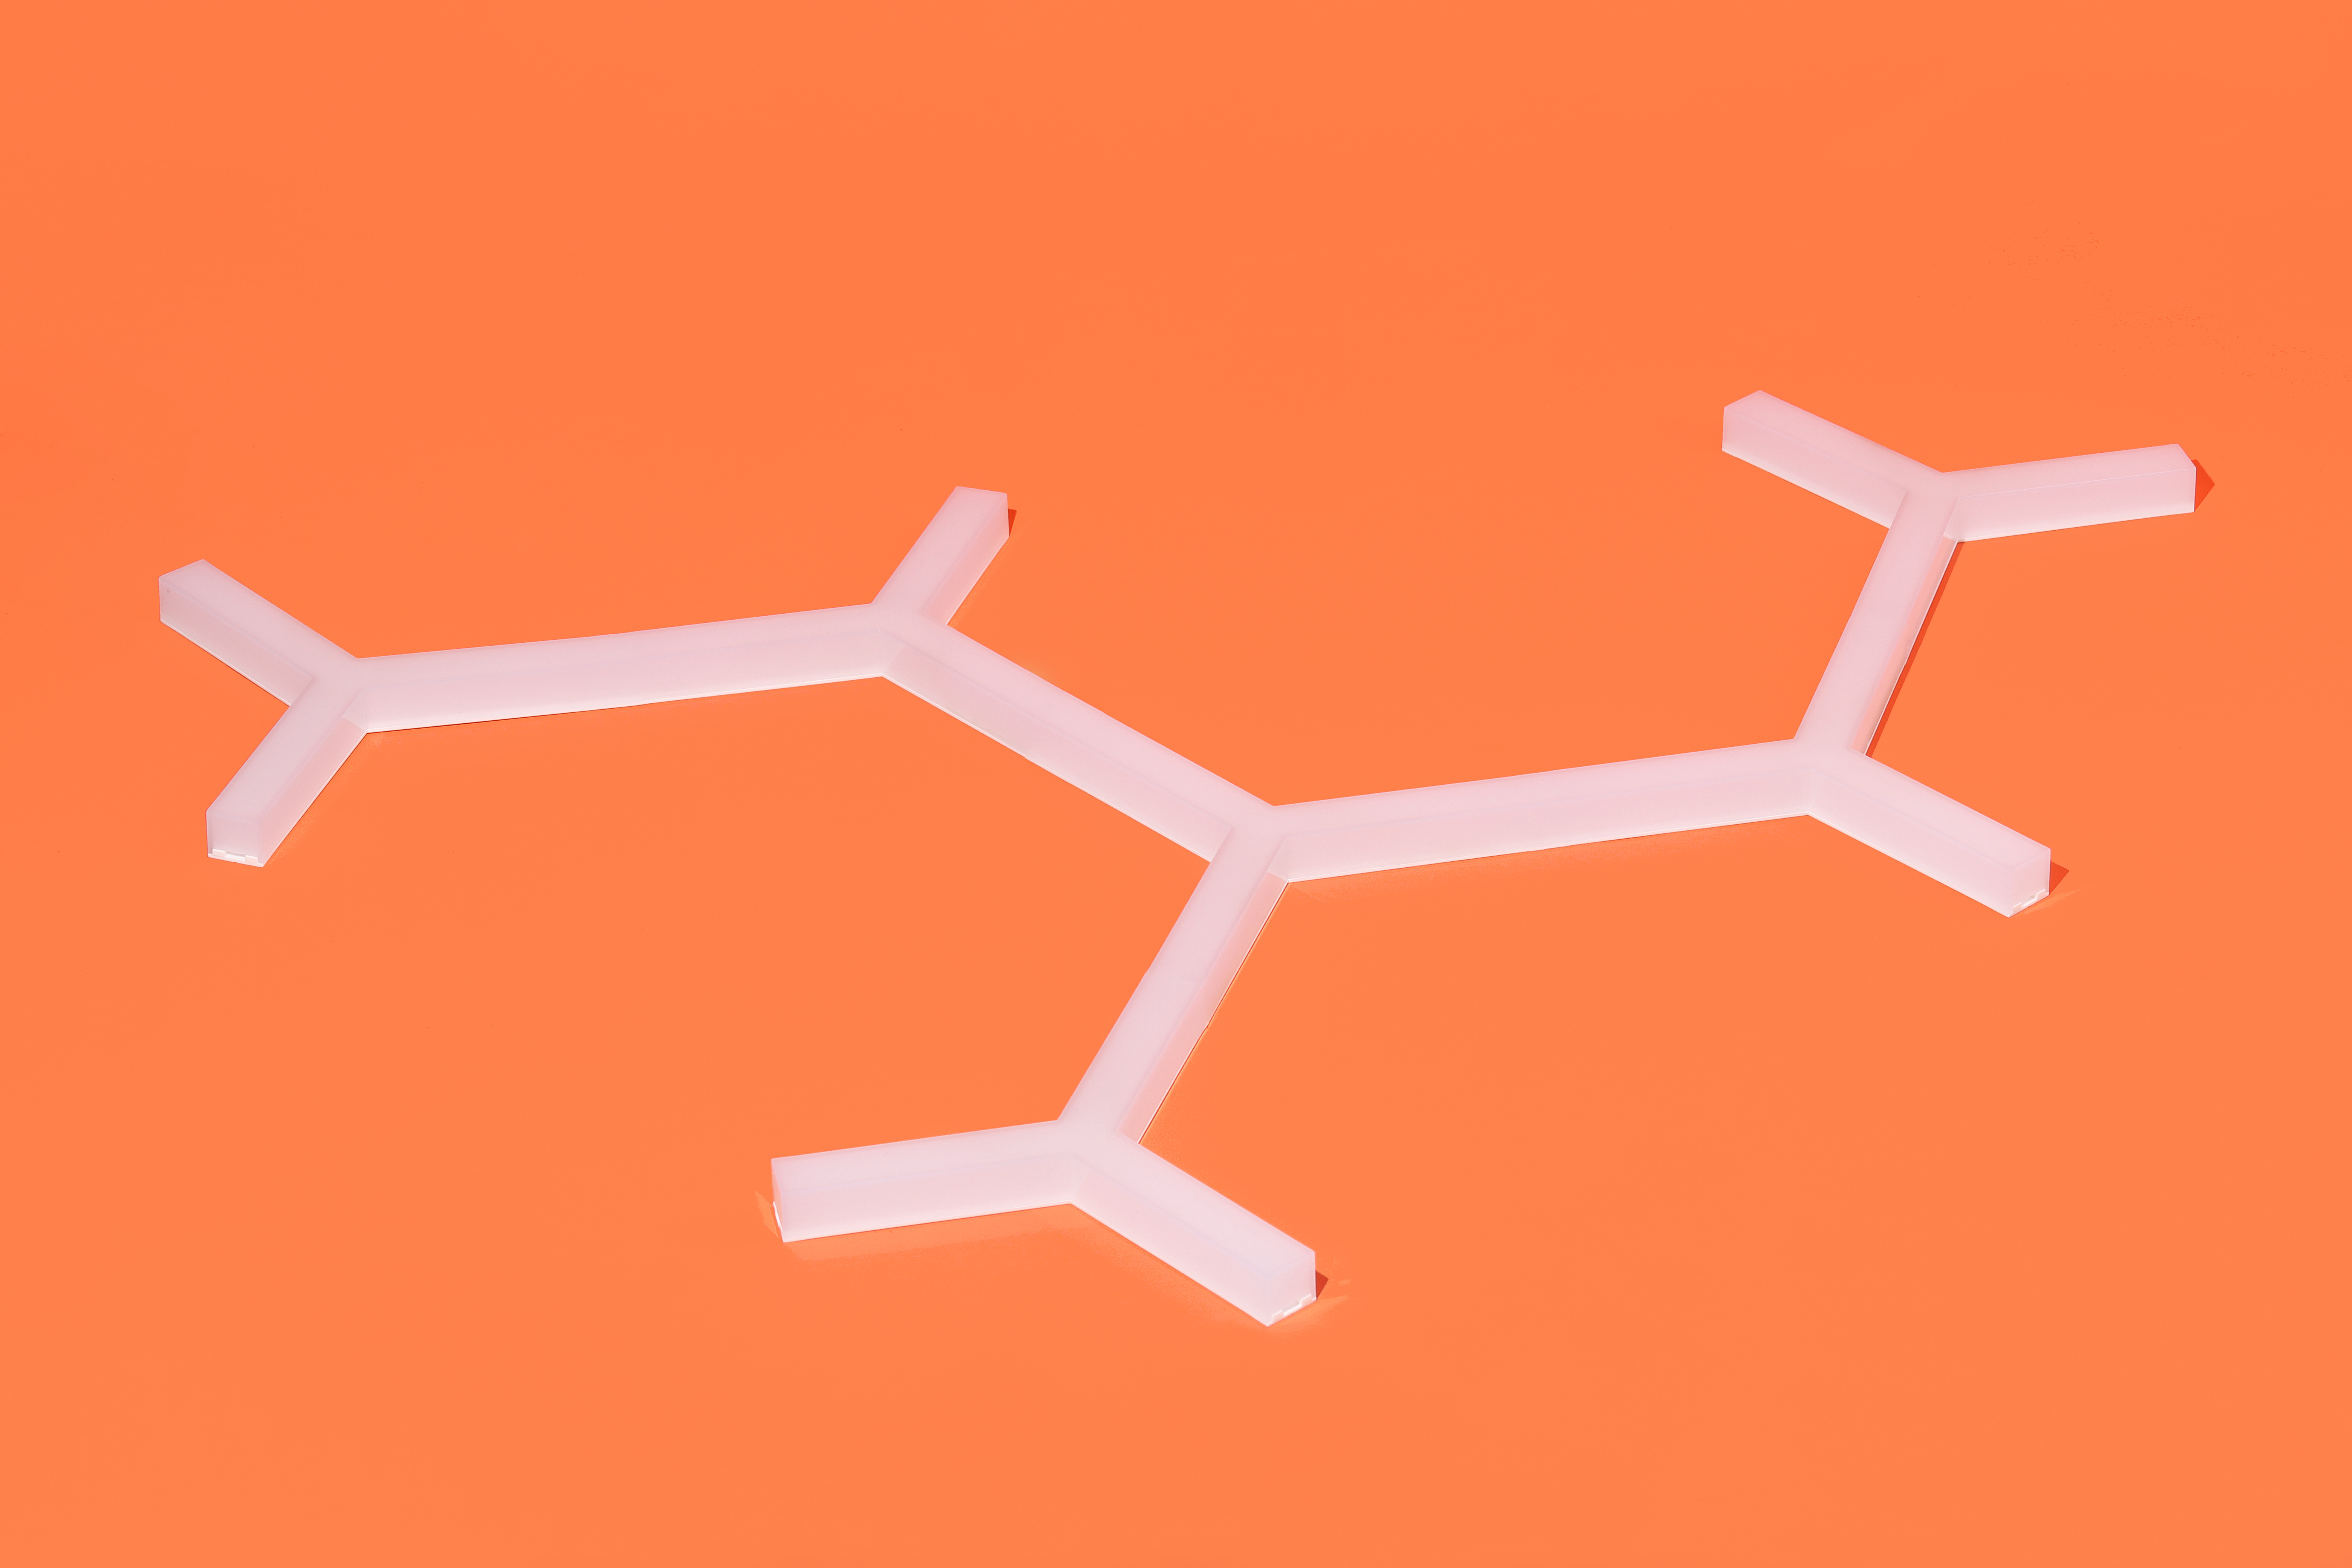
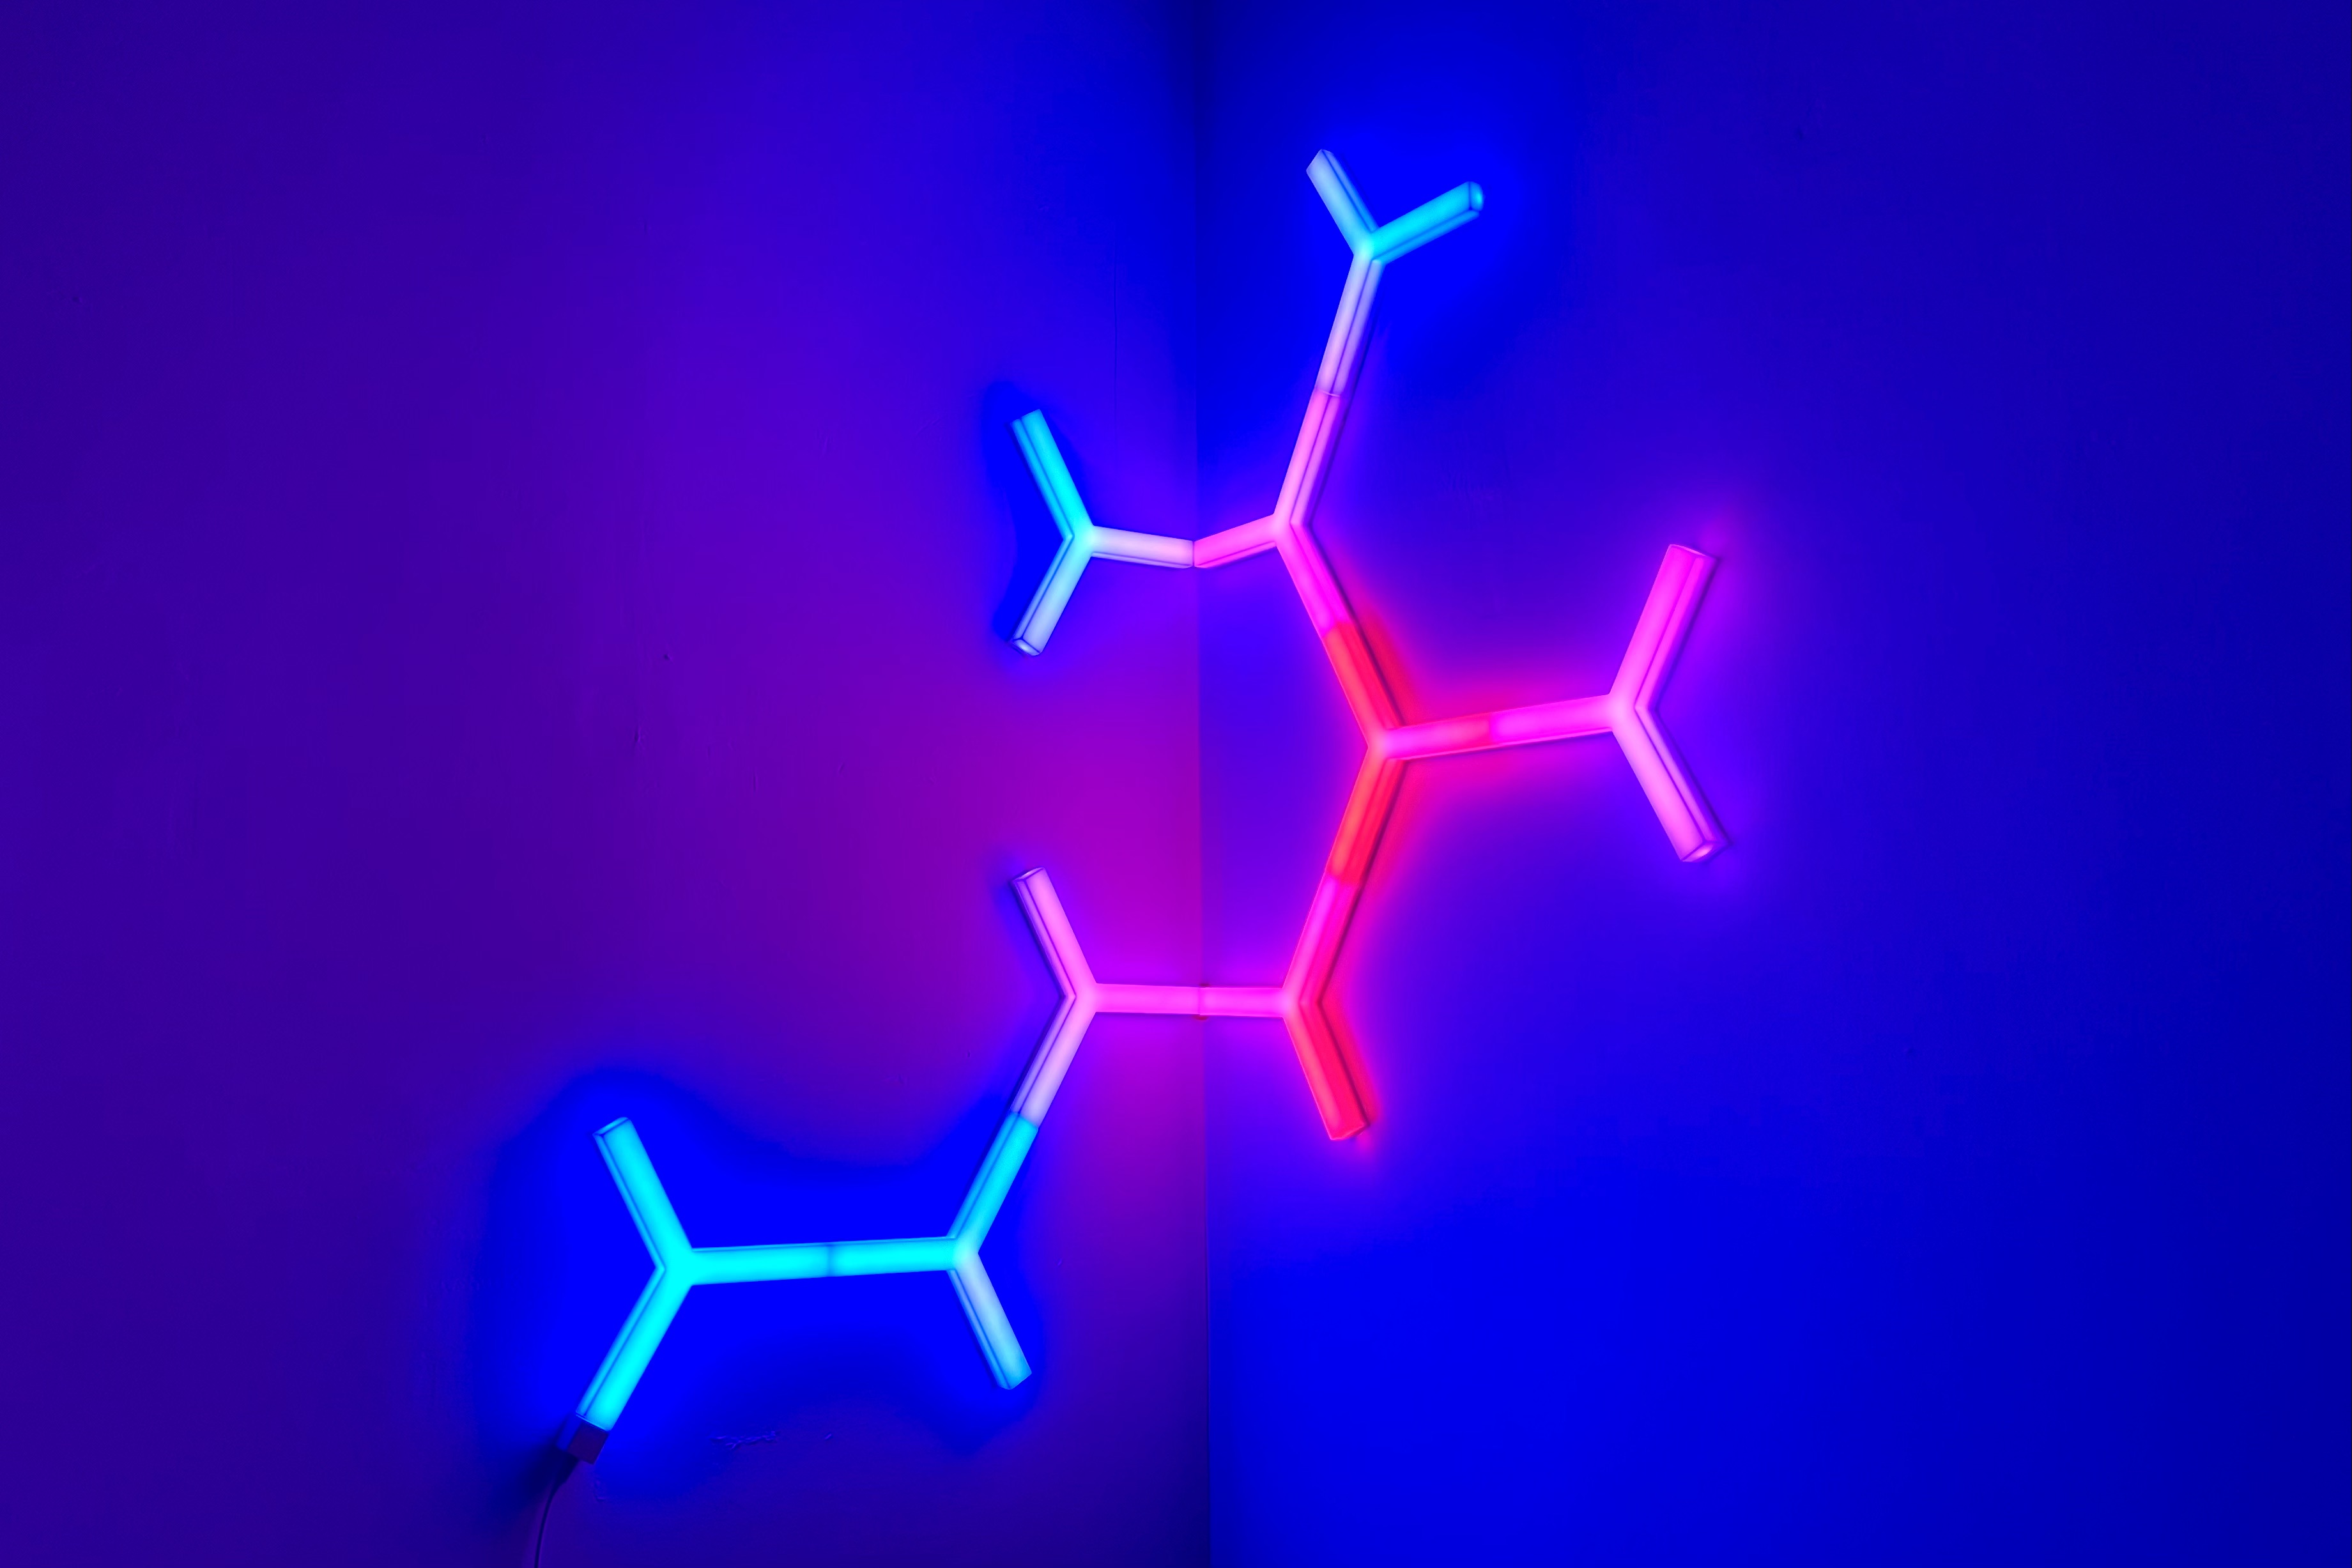
You can connect any side of Neon Hex modules you like. The possibilities are endless.
If you are connecting two additional Neon Hex modules to the same previous Neon Hex module, those two additional Neon Hex modules will have duplicated color effects.
Additional Power Supply
If you are connecting 12 or more modules within one setup, you might need to use additional power supply to ensure that the Neon Hex modules can work properly under certain bright lighting effects.
You can connect the "Additional Power Supply Connector" to a separate 5V 15W USB power adaptor using the long USB power cable. Then you need to plug the "Additional Power Supply Connector" into any of your existing Neon Hex module.
In order to achieve optimal power distribution across the entire Neon Hex setup, you should place the "Additional Power Supply Connector" on the other side of the overall layout.
Conner Connector
If you have any further questions, please feel free to contact our support team.
Get Started
FAQs